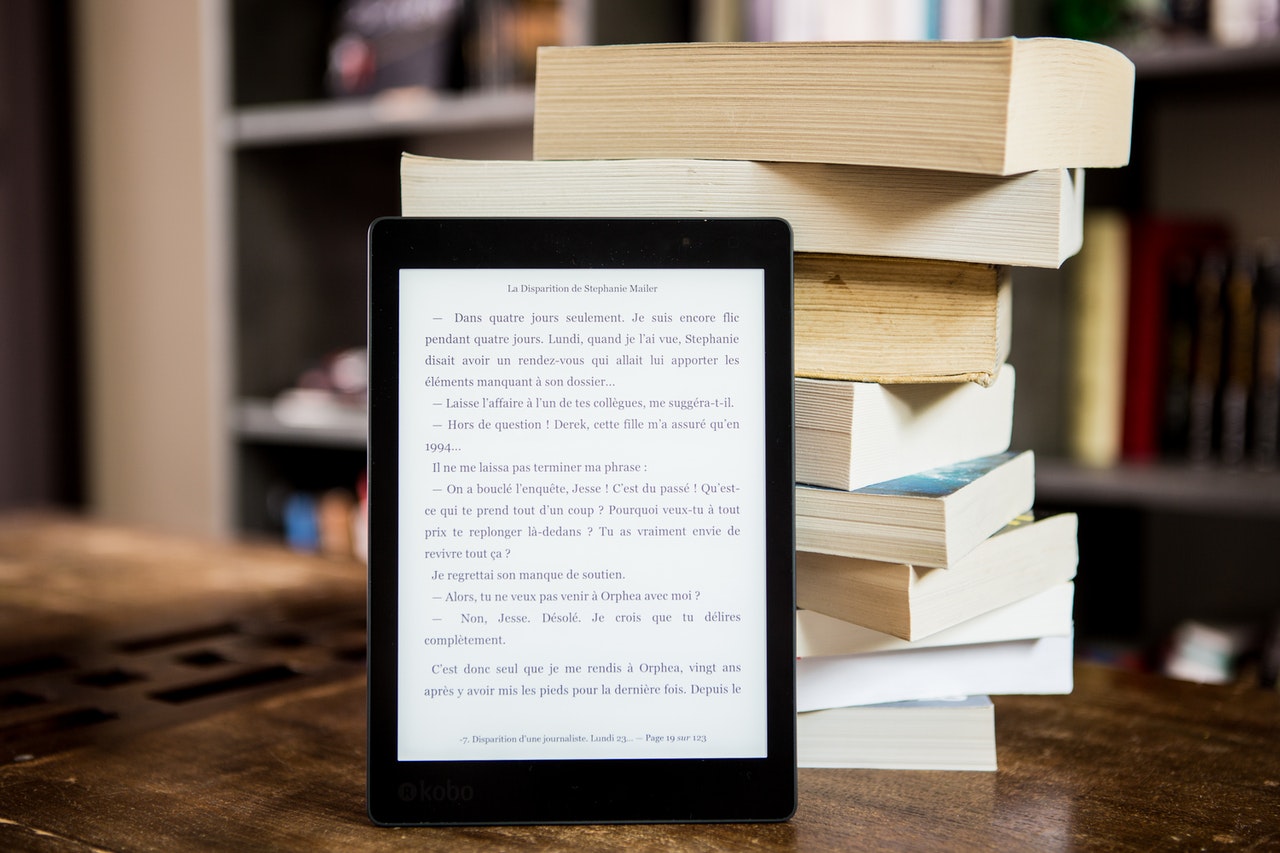
These days, when you think of Amazon, you think of online shopping and getting whatever you order online delivered to you quickly using Amazon prime. Amazon has not always been an online shopping platform that it has become, it’s roots were in selling and publishing books. Amazon remains one of the biggest publishers till this day. Its self-publishing book platform Kindle Direct is one of the best ways for a self-publisher to get his or her book online.
If you are new to or have not heard of Amazon Kindle self-publishing or Kindle Direct as it is known, this step-by-step guide will help you to learn everything you need to know about self-publishing using Kindle Direct.
Table of Contents
1. Do final pre-publishing checks
It is very important that your book is typo and error free. It goes without saying that it is important that your books are written in perfect, grammatically correct English. Once you get started with publishing it on Kind Direct, you are not able to make changes, without going through a lot of hassle. So, get you manuscript proofread by a professional editor,, so as to ensure you published books will be of the highest quality.
2. Create a Kindle Direct Publishing (KDP) account
After you must have done thorough pre-publishing checks, then it is time to set a KDP account.Setting up a KDP account is quite easy and quick. It is also free and you can create the account by following these steps:
- Go to Kindle Direct Publishing
- Sign in with your Amazon account Or register if you don’t have one.
- Fill in your account information.
After you have successfully created your account or signed in, then you are ready to continue the wonderful and fun process of getting your book published all by yourself.
3. Create a new title for your book
In this article, we discuss the process of setting up a Kindle ebook on your KDP dashboard. Though the process for paperback is quite similar.
On the dashboard, after locating a section named “Create a new title”, you are presented with two options namely “Kindle ebook” or “paperback”. Choose the type of book you want to create. Once the selection is complete, you will be taken to a page where you fill in all the book details. The page has 3 bars, but stay in the first. In the first two fields, put the book’s title and language. Then you can move to the next step discussed below.
4. Enter your book descriptions
After the first two fields in the first tab, the other fields are where you will enter other details about your book. Namely: series, the age range of your readers, contributors and descriptions.
Description is very important information to include while filling the information for your book. It is the initial blurb people read when looking for books on amazon. Since it is the first thing that shows up, it goes a long way in affecting the decision of a potential buyer. For this reason, you would want to write a description that will leave people desperate to read more.
5. Choose your categories and keywords
By selecting categories for your book, you make searching for it easy for a potential buyer. Because, Amazon works just like a physical bookstore that has categories people search through. So choose the categories where your book fits in. KDP allows you to select up to two categories.
Similarly, you are to select the keywords for your books and this is arguably the most important part of your marketing strategy. You must make sure that you select keywords that are true and relevant to your book without being too generic. Choosing rich keywords that are true reflections of your characters, setting and themes will go a long way in improving the visibility of your book in the feeds when people that are looking for something like your work search for them on Amazon. You are allowed to choose up to 7 keywords.
6. Upload your book content
Once you have provided your book’s details, the next step is to upload your book content.
Upload your manuscript: On the Kindle eBook Content page, go to Manuscript and press Upload ebook manuscript. Once that the selection is complete, Vellum will generate the Kindle version for you to select.
If your uploading is successful, you should get a message confirming that.
Upload the cover image: After uploading your manuscript, then you upload the cover image. Press Upload your cover file after selecting Upload a cover you already have. Once the image is uploaded, you should see a message reporting: Cover uploaded successfully!
7. Set the price for your book
It is important that you know that Amazon offers a 70% royalty rate on books priced between $2.99 and $9.99. For books priced outside that range, you received 35%.
If you are qualified for the 70% royalty, you will also want to review the Delivery cost associated with your ebook so you can know how much you will make per sale.
8. Publish your book
You have entered all the necessary information about your book, it is time for it to go live. But don’t rush in yet, it is completely possible that you have missed something or wrongly input some words while entering information about your book. Take a minute or two to check through the previous tab to ensure everything is correct. Once you are satisfied with the details, then you can hit the publish button.
If however you note some error after publishing, you can simply regenerate your file, make the necessary corrections and reupload the new version to KPD.
…….
……………….


Recent Comments