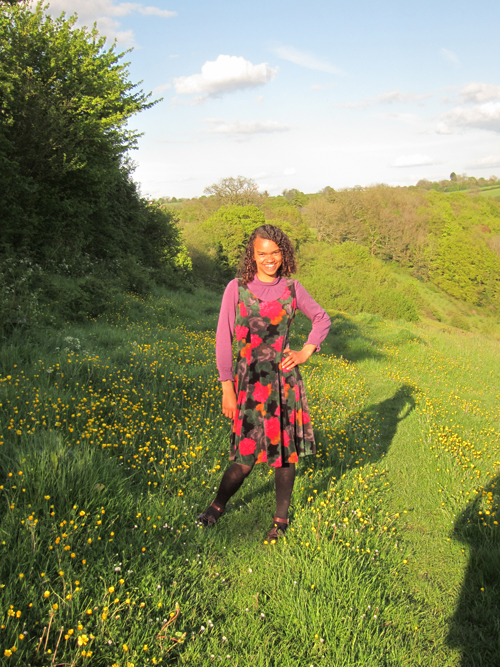
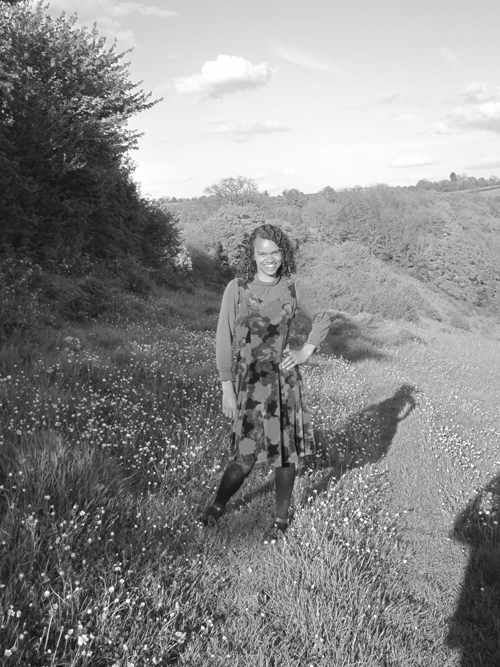
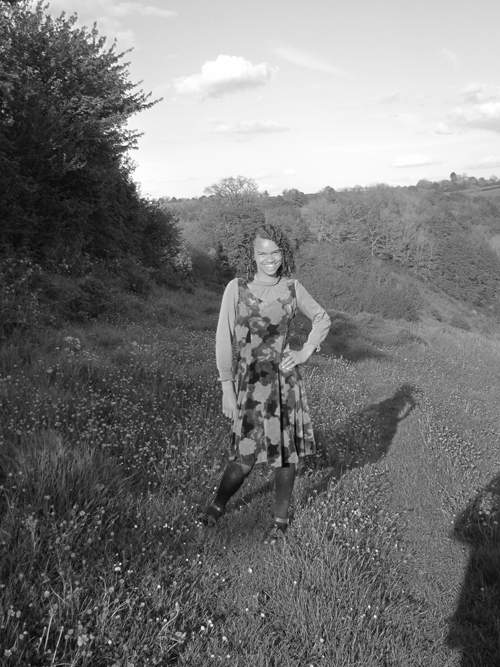
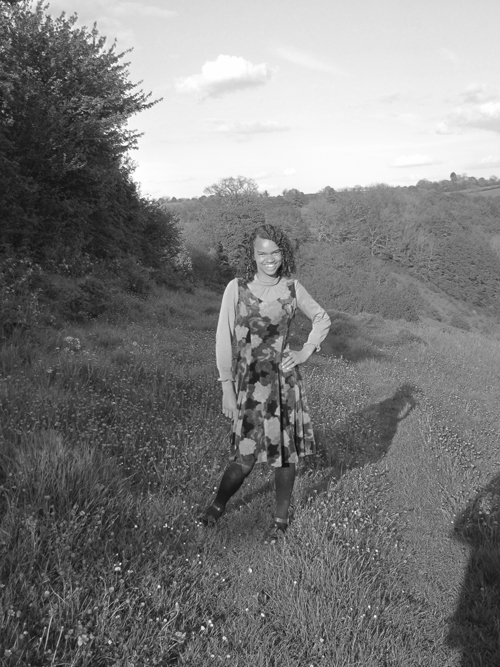
 Rather than using a black and white film, where you have little or no control over the conversion, or a monotone preset on a digital camera, where you have zero control, and usually a bland, grey picture, converting in photoshop is easy, and there is so much control at your hands! There are multiple ways to do it, and here I will be revealing just a few of the numerus ways!
In general, there are two kinds of editing. Destructive editing, and Non destructive editing. Non destructive editing is where the edit is applied to a layer above the original image, so if you want to revert to original you can delete the conversion layer, and you have your original image! Destructive editing is where you apply your edits directly to the original image, making the changes permanent. Once the changes have been applied, they cannot be edited, for example if I convert an image to black and white, then decide I want to edit the conversion, I have to undo it and start all over again.
In this article I will cover both destructive, and none destructive editing to convert an Image to black and white.
Greyscale Conversion (Destructive)
This is the most simple of all conversions. Photoshop simply discards all colour information, and leaves a grey, low contrast image.
Photoshop CS
- Image > Mode > Grayscale and Click Discard.
Photoshop Elements
- Image > Mode > Grayscale and Click OK.
Hue/Saturation Tool (Non destructive)
This has only one advantage over greyscale conversion, because the results appear exactly the same. It is a non destructive method.
Photoshop CS
- Layer > New Adjustment Layer > Hue/Saturation
- Click OK
- Drag saturation slider to -100 and click OK
Photoshop Elements
- Layer > New Adjustment Layer > Hue/Saturation
- Click OK
 LAB Colour Method (Destructive)
This changes the image from RGB to LAB, which discards colour information and measures brightness values seperately. It gives a better conversion than greyscale and Hue/Saturation tool, but is destructive, and does not exist in Elements.
- Image > Mode > Lab Color
- Go to Channels Window (If it is not already open, window > channels). Select Lightness channel.
- Image > Mode > Greyscale then Click OK.
 Gradient Map (Non destructive)
Gradient Map tool creates a black and white grdient which maps your image according to the brightness. It is none Destructive, quick and easy, but allows no control.
Photoshop CS
- Press ‘D’ to reset foreground colour (To black).
- Layer > New Adjustment Layer > Gradient Map
- Click OK
Photoshop Elements
- Press ‘D’ to reset foreground colour (To black).
- Layer > New Adjustment Layer > Gradient Map
- Click OK
Channel Mixer (Non destructive)
This releases more of Photoshops full black and white conversion potential, because not only is it non destructive, it can also be controlled.
It allows you to change the ratio of green : red : blue, to brighten grass, skies etcetera, and influence the final result.
It is not available in Photoshop Elements. Setting the blue slider to 100% is equivalent to a photographer using a blue filter.
Photoshop CS
- Layer > New Adjustment Layer > Channel Mixer
- Check the monochrome box
- Move the RGB (Red, blue and green) sliders right and left to set the amount you want (Total value should be 100% at all times).
- Click OK
Photoshop Elements Only: Black and White Conversion tool (Destructive)
Thi is the equivalent to CS’s channel mixer, but it is destructive. Below are the details on how to proceed.
- Enhance > Convert to Black and White
- Set RGB slider as required. Use contrast slider to increase the contrast (obviously!!). You can also choose a preset (Scenic landscape, Infrared effect, Newspaper)
- Click OK
Twin Hue/Saturation Method (Non destructive)
Thi involves two Hue/Saturation layers. The top one is a monochrome conversion, the bottom one is a layer which ahas had its colours tweaked to influence the top layer. It can become tedious, but gives a very fine degree of control.
Photoshop CS
- Layer > New Adjustment Layer > Hue/Saturation
- Click OK
- Saturation Slider: -100%
- Click OK
- Activate Background (Select it)
- Layer > New Adjustment Layer > Hue/Saturation
- Click OK
- Change blending mode (of bottom layer) to ‘color’.
- Double click the bottom layer Hue saturaton icon to edit the layer
- Move Hue slider and experiment with the tones
- Try experimenting with the lightness and saturation slider too, and Click OK once you have finished.
Photoshop Elements
- Layer > New Adjustment Layer > Hue/Saturation
- Click OK
- Saturation Slider: -100%
- Click OK
- Activate Background (Select it)
- Layer > New Adjustment Layer > Hue/Saturation
- Click OK
- Change blending mode (of bottom layer) to ‘color’.
- Double click the bottom layer Hue saturaton icon to edit the layer
- Move Hue slider and experiment with the tones
- Try experimenting with the lightness and saturation slider too, and Click OK once you have finished.
Black and White Adjustment Layer Method (Non-Destructive)
Only available in CS 3 onward, this technique gives all of the control of twin Hue/Saturation method and Channel Mixer in one!
- Layer > New Adjustment Layer > Black and White
- Click OK
- Move colour sliders accordingly or choose from the presets.
- Click the hand icon, with arrows pointing left and right, hold left mouse buttton down over the image. The cursor will indicate that your selected adjustment tool is active. Move it right to lighten, and left to darken the area under the cursor.
This is the most flexible black and white conversion, but is only available in CS 3 onwards.
I hope this tutorial has helped you. Enjoy!


Recent Comments