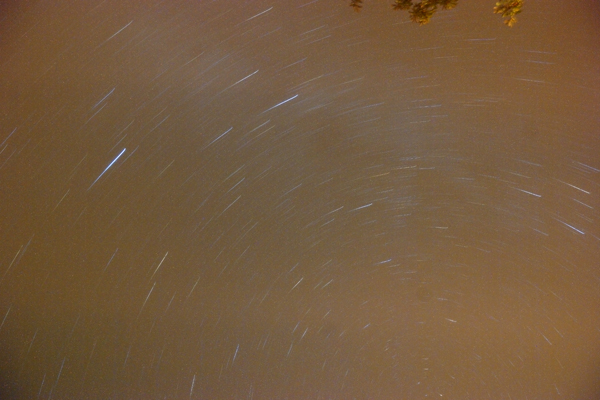
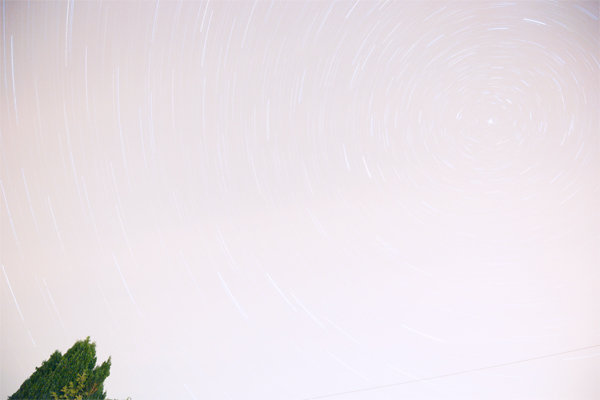
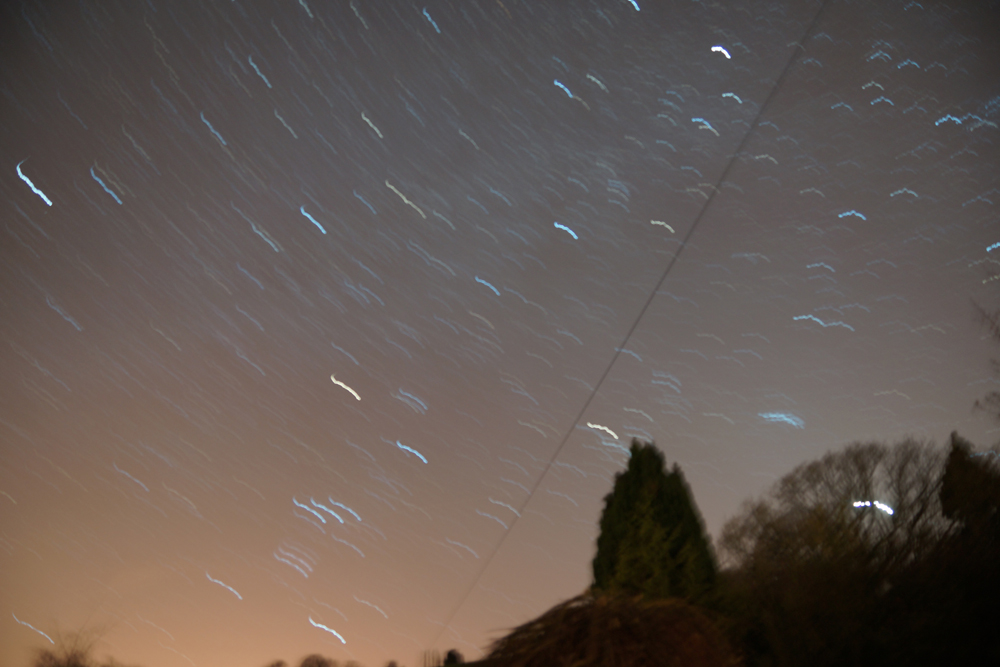
In part 1 I covered how to photograph stars, where I showed you how to create beautiful star pictures with 30 second exposures, ISO 3200 or 1600, and max aperture. I said that in that case star trail were undesirable, but in this article I am going to show you how to photograph star trails.
There are different ways to do it, such as taking a series of 30 second exposures and merging them in an editing program, to reduce long exposure noise, or keeping the shutter open for several minutes (or hours!). In this article I will give brief details about both. A Cable Shutter Release will help for merging exposures, but the BULB mode requires version one.
For both methods, you will need to use manual focus, and set it to infinity. This looks like a sideways eight, and can be adjusted on the lens.
Merging Several exposures
Set your camera on a tripod, and switch to Manual mode. Set your lens’s widest aperture, 30 seconds exposure, ISO 100 or 200 and continous shooting. Turn Long Exposure Noise Reduction (LENR or Long Exp. NR) off, because this interupts the continuous shooting cycle, leaving the merged exposures looking like a series of gapped streaks.
Once you have your required exposures, open them in photoshop, or another editing program and merge them.
Using BULB mode
For this, you will need your camera on a tripod, set to manual mode. You will find BULB mode under shutter speed. Set 3.5 -5.6 aperture, and ISO 100. You will need to use a cable shutter release, because no movement is allowed if you want your star trails to work, and even pressing the shutter button down creates some camera movement, and no one can possible hold a button down for several minutes without jiggling the camera.


Recent Comments